
Nyssa's kaleidoscope: Parts.
(All pictures in post may be clicked for larger view)

"The world is your kaleidoscope, and the varying combinations of colors which at every succeeding moment it presents to you are the exquisitely adjusted pictures of your ever-moving thoughts." ~ James AllenA couple of months ago I promised to post about Nyssa's kaleidoscope with an explanation of how I take the pictures. Above are the parts of her scope. The large tube has an eyepiece at one end and is clear near the other end to facilitate light input. This also has a round hole through the center of the tube to fit the plastic rods. (Three)
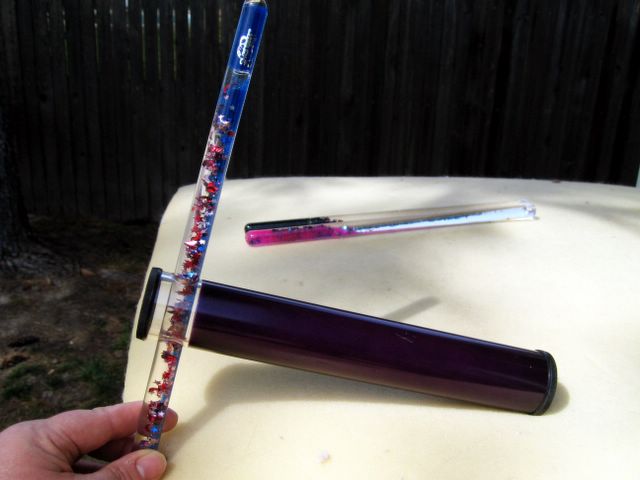
Each plastic or acrylic rods contains a viscous oil as well as glitter and larger cut shapes. The color scheme varies; Nyssa has one with a red, white and blue theme, one with a pink and turquoise dominant theme, and one with multiple bright primary colors and black. The glitter tube slips through the hole and typically is secured with two thick round bands of rubber, but I don't use these for pictures. As the glitter and die cut shapes float slowly down through the oil with the help of gravity, the different shapes and colors appear in the eyepiece.
Now, how to take the pictures. Click read more below to continue.
How to take the pictures:
- Set your digital camera to the "Macro" setting.
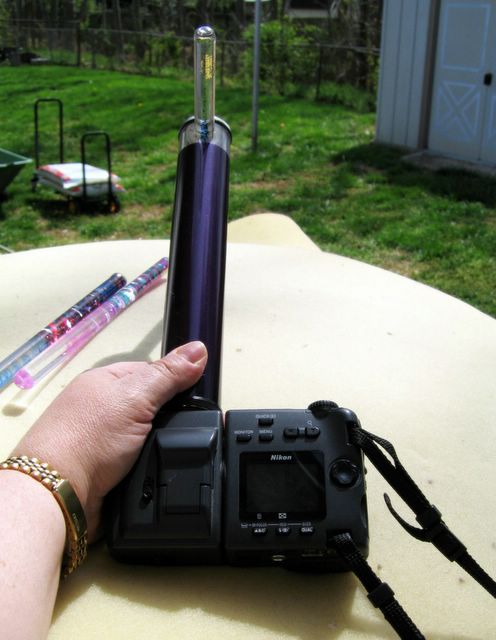
- Position the kaleidoscope eyepiece over the digital camera lens and zoom in until the outline of the keyhole is no longer visible in the camera screen.
- Position the barrel of the kaleidoscope to the best light. (It is easiest to do if you have something to rest the camera and the kaleidoscope tube on)
- Patiently watch as the glitter and die cuts float down the tube.
- You can adjust the rate of glitter fall by decreasing the angle of the tube. The slower it falls the less blur you have in the pictures.
- Watch the screen and click away. You could even do a movie if you like.
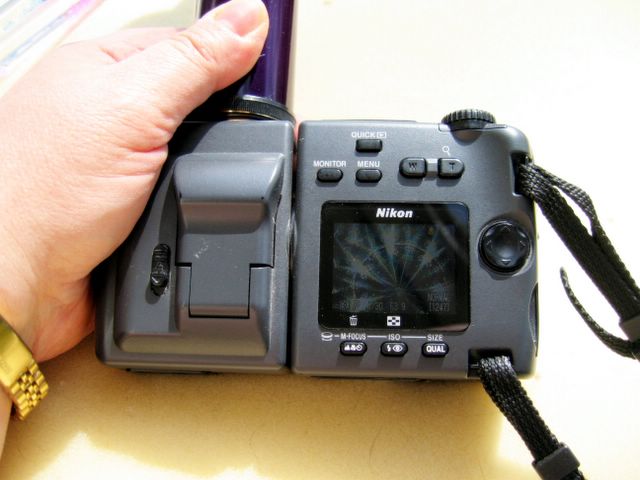
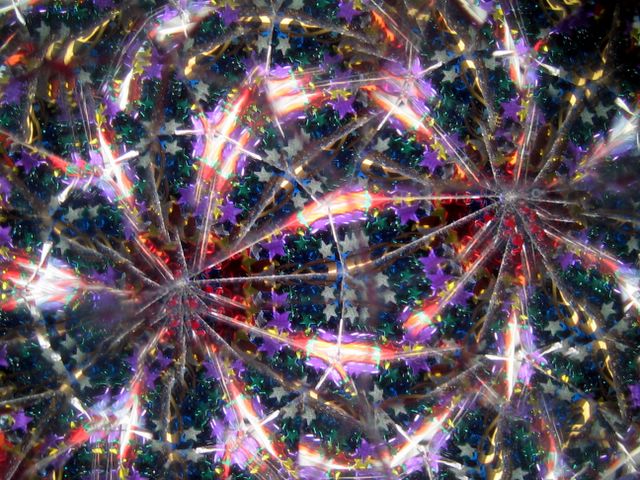
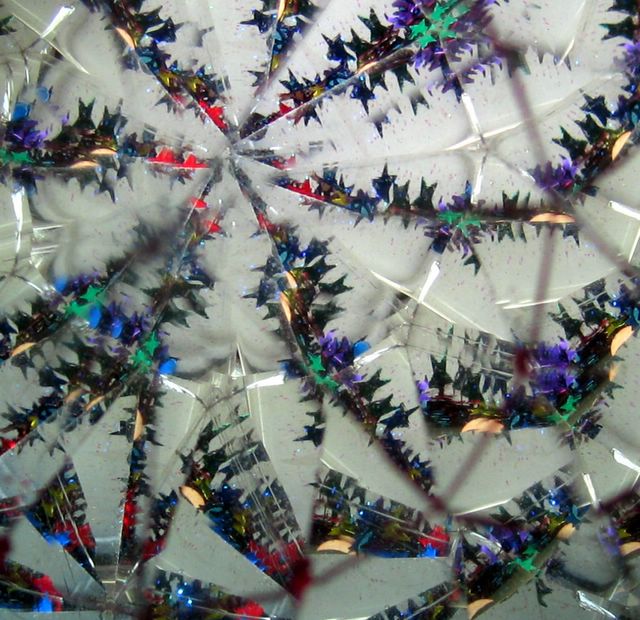
It may be a bit difficult to see the screen in such bright light but it does make for interesting pictures. Below are just a few of the many pictures I've gotten; all with slightly different coloration and shapes and all quite unique. The die cut shapes include stars, crescent moons, hearts, rounds, and others. Enjoy.

If there are parts of the picture you don't want it can be cropped out with any photo editing program.


Come again! I saved all my patriotic (red, white and blue) pictures for..... well, for July 4th naturally!
PS: I didn't take these pictures today as we have been bombarded for two days now with rain shower after rain shower; some drizzle and some downpours. No sun here! (end of post)
No comments:
Post a Comment